Cardboard boxes made to order can be a very handy tool for business and for an individual. Whether you need to package a product to sell, or just need a box that will fit around some strangely shaped item, making your own cardboard box allows complete control over the size, shape, and strength of it. These custom boxes can be bought ready-made from the market, but making them at home or in your workshop is not only more economic but a fun and rewarding DIY task, too. We’ll guide you through how you can make a custom cardboard box from scratch in this article using materials that are most at hand.
Materials You’ll Need
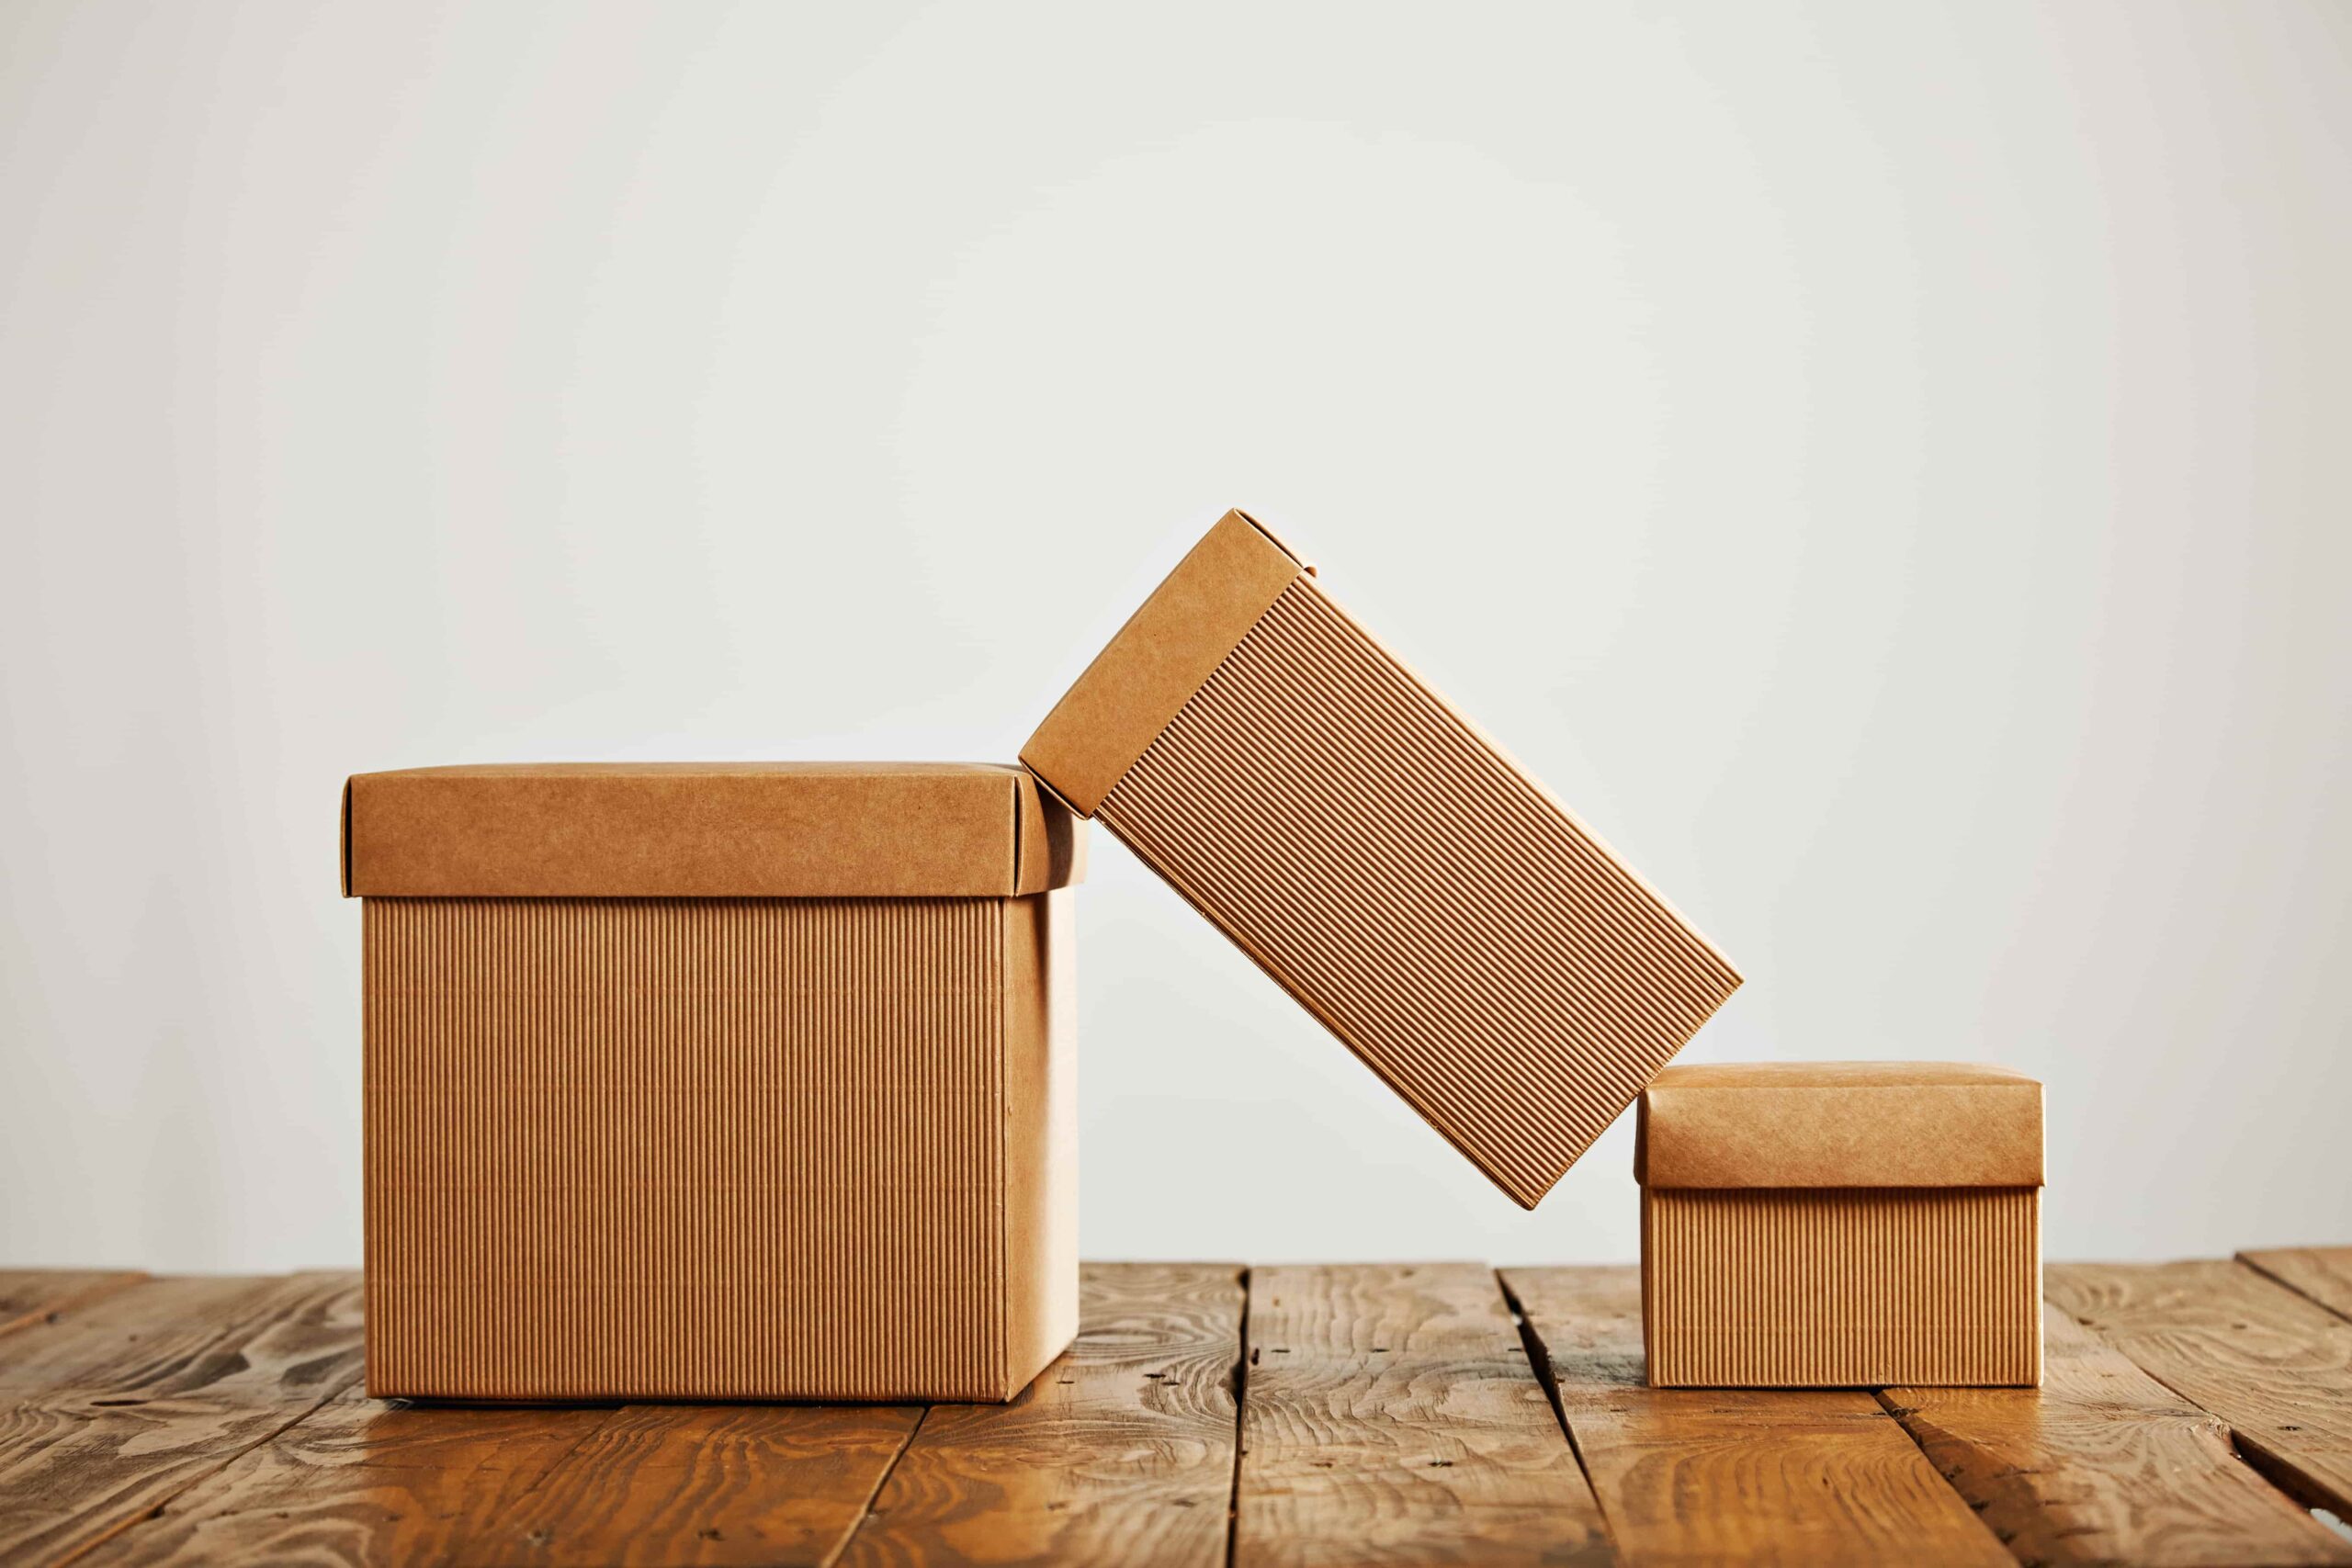
- Cardboard sheets: The corrugated type would work best for making strong boxes, but in lighter loads, you are allowed to use thinner cardboard, too.
- Utility knife or box cutter: You want a sharp knife for cleanliness and precision of cuts.
- Ruler or measuring tape: You want to get accurate measures so that your box turns out just about right-sized.
- Pencil: for outlining dimensions on your cardboard. Cutting mat or any other flat surface: this covers the work surface in order to prevent any cuts.
- Scissors: helps in minor cuts or with plane edge trimming.
- Glue or Tape: It holds the edges of the box. Metal straightedge or a T-square: guides cuts and keeps the lines straight.
Step 1: Measure the Object Being Boxed
To make a cardboard box to your specifications, first decide exactly what the dimensions of what you want to pack are. Using a ruler or a measuring tape, carefully take the length, width, and height of something. Add a little extra room: about half an inch on each side if you want it to fit snuggly, or add a full inch to allow more room for cushioning materials, such as bubble wrap or foam.
For example, if your item is 8 inches long, 6 inches wide, and 4 inches tall, you could add a padding of 1 inch on all sides. For that, the overall dimension would be 9x7x5 inches.
Step 2-Draw Your Box Pattern
On the paper, with your pencil lightly draw in the design of your box. For an average box, you will have six panels: the top, bottom, two sides, and two ends. Lay your panels out flat on the sheet to create one continuous piece. Each should be exactly the size you will need for each side of the box, plus the extra folding and glueing.
If you have never worked with box layouts, imagine a cube flattened. You would place the side, bottom, and top panels in a puzzle-like manner against one another with tabs attached to it for folding and glueing the box together.
Step 3: Transfer the Design onto Cardboard
Draw a design and then transfer it onto the cardboard. Place your cardboard flat atop your cutting mat or other flat surface. Then, using your ruler or T-square, make sure lines are perfectly straight. Carefully outline each panel very neatly, being careful to save room for glue tabs on the edges.
Using your ruler, ensure all panels are equal to the dimensions of the object that you want to box. Never forget, for the best result, to re-measure your dimensions before attempting a cut.
Step 4: Cutting Out the Box
Carefully start cutting along the lines you have drawn with your utility knife or box cutter, making sure to press down the straight edge of your ruler against the cardboard as you’re cutting, to ensure you make a clean, straight cut. If the cardboard is particularly thick, you will need to score the surface first, then deeper cuts until the pieces are separated.
Be careful, too, with the fold lines-these are the box parts that will enable it to fold into shape. In their case, allow your knife simply to score the cardboard lightly and don’t cut all the way through.
Step 5: Fold the Cardboard
The cuts are made, you are to fold the cardboard along the score lines to give shape to your box. In the panels now, fold and ensure that these folds are clean and sharp. Where necessary, refer to the edge of a table or even a ruler to assist you in getting sharp, straight folds.
Pay extra attention to folding flaps and glueing tabs, since these constitute the edges of the box. Poorly aligned tabs translate to a box that may not close properly or keep its shape.
Step 6: Reinforce the Edges with Tape or Glue
Once your box has been folded into shape, it is time to glue the edges. You can use glue or packing tape depending on what you have on hand and the strength with which you need the boxes to be. In most instances where tough boxes are an issue, both glue and tape apply.
Glue
Take glue and place a little on the tabs at the edges and press firmly in place. Hold it there until it dries. Packing tape or other strong adhesive tape may be used to hold down tabs for quicker assembly.
Step 7: Reinforce the Box
Depending on whether you put larger or heavier items inside your box, you may want to reinforce it to make it stronger. For this reinforcement, add layers at the bottom and sides of the box using cardboard. Cut out pieces for the inside of your box and attach using glue or tape.
You can also seal the sides with tapes or extra glue to hold the box in place when you place heavier items inside. Another way you can make this happen is by running tape up and down the seams so no gaps occur.
Step 8: Test and Adjust
That is, just before sealing your box, try it out by placing the object inside. Let the box close accordingly and fit the item perfectly inside. In case it is too big or too small, you may want to readjust by trimming the sides or adding more material to cushion the inside.
Step 9: Decorate Your Box
Once the box is full and complete, it is then you can label, sticker, or mark on it with markers. If you happen to use this box within a business setting, then you are well within your discretion to print your company’s logo or branding information onto it. This gives a professional touch to the box and makes the box identifiable.
As special touches, it will be good enough to say that wrapping paper, ribbons, or any embellishment works just fine for a gift.
Conclusion
Making a custom cardboard box for yourself is not hard and saves money. Also, it allows much greater freedom in packaging items than relying on boxes you find around. For personal or business use, it is really effective and satisfying to be able to make a box tailored precisely for the purpose required. You can easily design a sturdy, well-fitted box with just a few tools and materials to get the task done.